AI Age Filter vs Age Progression: Which Should You Use?
Compare an AI age filter with age progression, choose the right workflow, improve photo inputs, and review generated results without treating them as predictions.
If you want one older-looking portrait quickly, use an AI age filter. If you want a visual sequence that moves through several ages, use AI age progression. The two effects can look similar in a thumbnail, but they solve different creative jobs and give the model different amounts of freedom. Neither one can tell you what a person will really look like in the future.
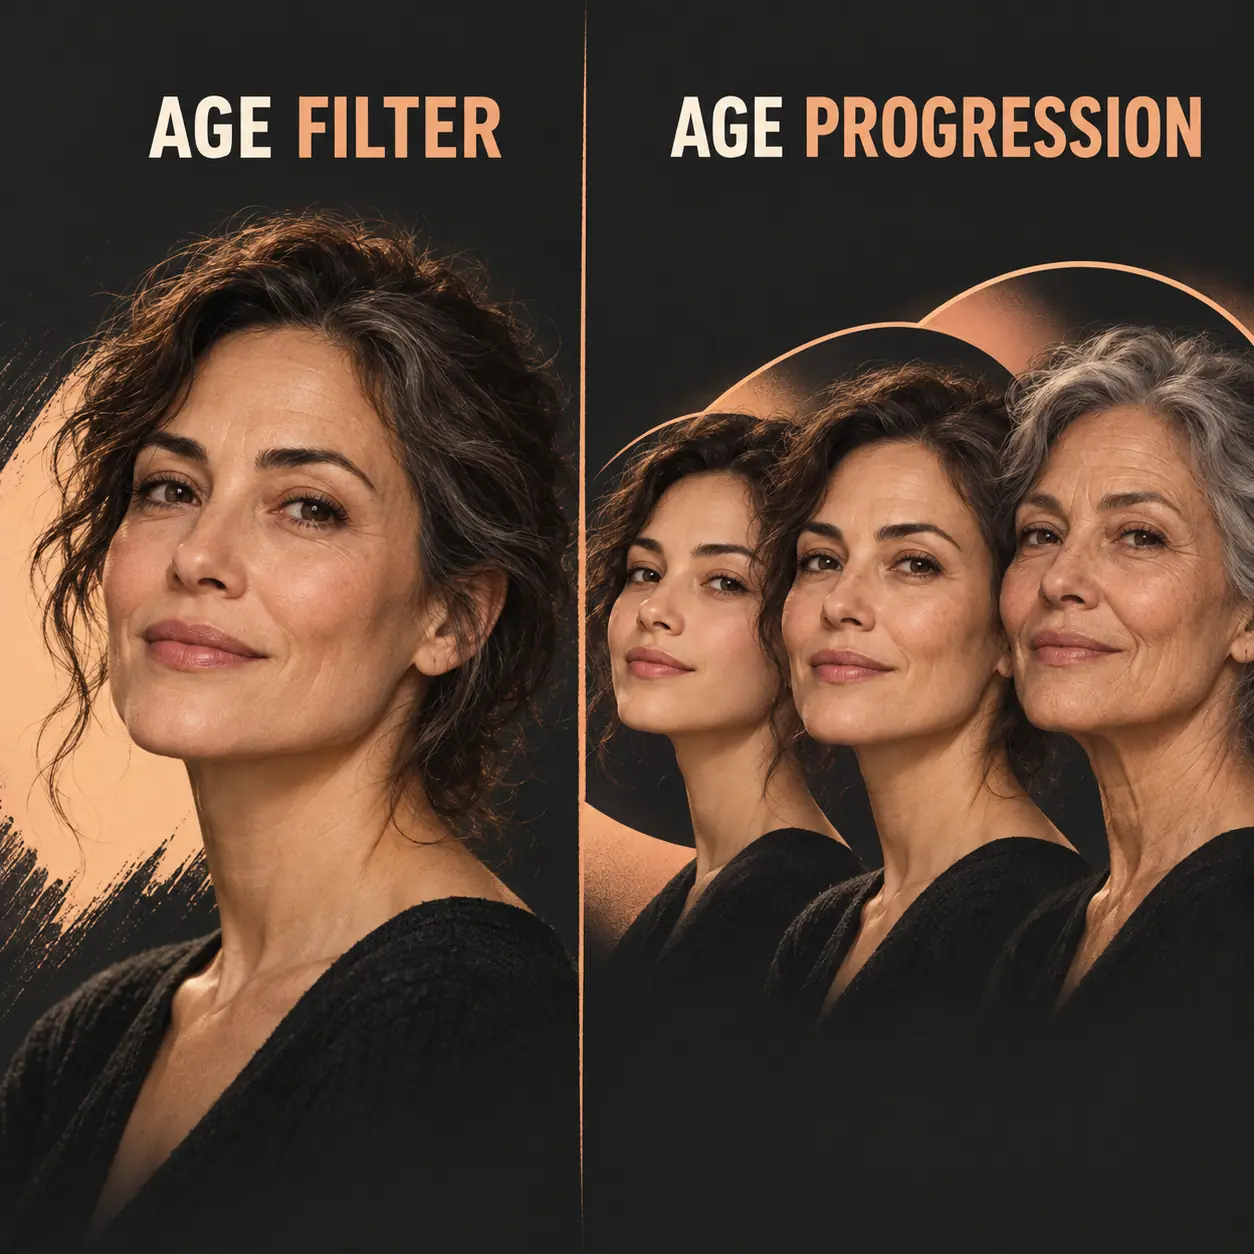
Editorial illustration only. The portraits are fictional and do not show a real person's future appearance.
Quick answer: filter or progression?
Choose the filter when the output is a single image and you mainly want an older or younger visual style. Choose progression when the story depends on a change between stages, such as a child-to-adult concept, a family timeline, or a multi-stage comparison. A filter is usually easier to review because it creates one target frame. Progression is more expressive, but every extra stage gives the model another opportunity to change the face, hair, lighting, or background.
| Your goal | Better starting point | What you receive | Main trade-off |
|---|---|---|---|
| One shareable older-looking portrait | AI age filter | One edited still image | Less control over the exact path between ages |
| A younger-to-older visual sequence | AI age progression | Several age stages or a transition | More face drift and more review time |
| A realistic personal forecast | Neither | No reliable prediction | A generated image is an interpretation, not evidence |
What an AI age filter changes
An AI age filter normally starts with one photo and returns one edited frame. The system may adjust skin texture, hair colour, facial fullness, or other cues that viewers associate with age. A preset or slider can make the workflow feel simple, but the output is still a new image generated from the source. It does not measure a person's biological age and it does not calculate a verified future face.
Filters are useful when the final image matters more than the path. You can use one for a profile concept, a before-and-after post, a creative portrait, or a quick test of how a photo reads with subtle age cues. Start with the GrowUpAI aging filter tool when you want to test a single still image. Keep the prompt or preset restrained if you want to preserve the subject's recognizable features.
The limitation is that a filter can change details that were not part of your request. Hairline, teeth, glasses, background objects, and expression may be regenerated along with the age effect. A polished result can therefore look coherent while still being a creative edit rather than a measured transformation.
What AI age progression adds
AI age progression describes a relationship between stages. The model may create a younger frame, an older frame, and one or more intermediate frames. That makes progression a better fit for a timeline or story, but it also multiplies the points that need checking.
When you use a single source photo, the model invents the intermediate stages. When a tool accepts start and end frames, those references can give the transition a clearer destination, but they still do not guarantee the same identity in every frame. The age progression explanation covers the image-generation limits in more detail, including why the same prompt can produce different results on different runs.
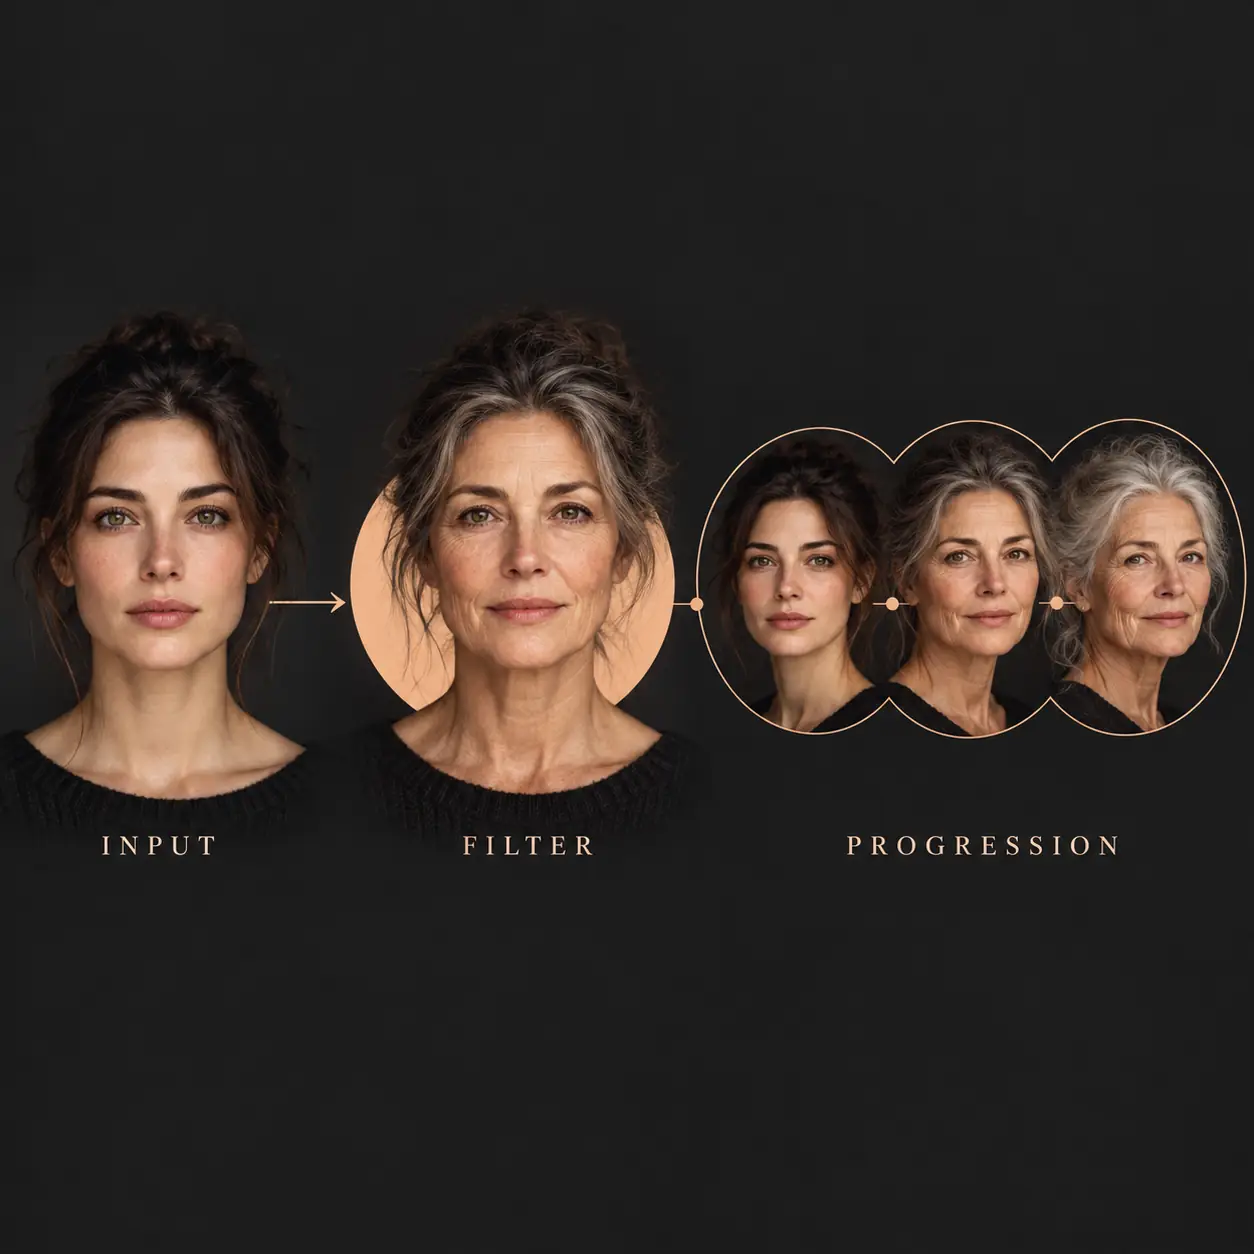
The workflow illustration separates a one-frame filter from a multi-stage progression; it is a conceptual diagram, not a product screenshot.
Side-by-side decision table
The table below is a practical way to decide before you upload a photo. “More control” means the tool gives you a clearer target, not that the result is guaranteed to be accurate.
| Decision point | AI age filter | AI age progression |
|---|---|---|
| Number of outputs | Usually one still | Two or more age stages |
| Best input | One clear portrait | One clear portrait, or matched age-stage references |
| Best use | Quick visual effect or single portrait | Timeline, comparison, or child-to-adult concept |
| Review burden | Check one result for face and background drift | Check each stage, transition, and background for drift |
| Common failure | Unrequested hair, skin, or expression changes | Face flicker, sudden age jumps, and inconsistent identity |
| Best first adjustment | Simplify the prompt and reduce style words | Narrow the age gap and match framing between references |
A practical workflow for a clearer result
Choose the input photo
Use one person, a sharp face, even light, and a mostly front-facing angle. A simple background makes it easier to notice whether the model changed the subject or the setting. Remove heavy beauty filters, and avoid photos where hair, hands, glasses, or shadows hide the eyes and jawline. If you are comparing two real photos, match the crop, face size, head angle, and lighting as closely as practical.
Before uploading, confirm that you have permission to process the image. For a child or another person, permission covers more than the first generation: consider storage, downloads, public sharing, and whether the person would agree with the result later.
Pick the smallest useful age change
Start with the age range that answers your actual question. A small change is easier to review than a jump across several decades. If you want a child-to-adult visual, do not try to cover every intermediate year in one jump. Create neighboring stages and compare them with consistent framing. The child-to-adult tool is designed for a still creative approximation; the result should still be labelled as generated.
Review identity drift before sharing
Look at the eyes, face outline, mouth, ears, hairline, and any distinctive mark. Compare the input, the middle of a progression, and the final frame. Also check the background, clothing, and accessories for flicker. If the output changes the person too much, simplify one variable at a time: use a clearer photo, reduce the age range, or remove decorative style instructions. Saving several random outputs and choosing the most flattering one does not make the result more accurate.
When to use a still filter or a progression sequence
Use a still filter when you need a fast visual answer and can evaluate one image. Use a progression sequence when the change itself is the subject of the post or keepsake. Compare neighboring stages when you need a clearer sense of how the visual changes.
For a prompt collection focused on a child and an imagined adult version, see the child-and-adult AI photo prompts. That page covers prompt wording; this comparison focuses on choosing the right output type before you start.
Privacy and consent checklist
Age edits are personal images even when the result is playful. Before you upload or share one, check:
- You own the photo or have permission to process it.
- You know whether the service stores the input and generated output, and how deletion works.
- You have considered consent from every person shown, especially a child.
- You remove unnecessary names, school details, location clues, and other identifiers.
- You label a generated image clearly when viewers could mistake it for a real record.
- You do not use the result as medical evidence, an identity document, a legal record, or proof of a child's future appearance.
These checks apply to both an AI age filter and AI age progression. A more detailed sequence is not more factual simply because it contains more frames.
Frequently asked questions
Is an AI age filter the same as AI age progression?
No. An age filter usually creates one older- or younger-looking image. Age progression creates a relationship between stages, often with intermediate frames. Both are generated edits, and neither is a reliable forecast.
Which gives a more realistic result?
It depends on the photo, model, prompt, and review standard. A still filter may look more consistent because it has one target frame. A progression can communicate change more clearly but has more chances for identity drift. “Realistic” describes visual style here, not biological accuracy.
Can AI progression show what a child will look like as an adult?
No. It can create an imaginative adult-looking portrait from a child photo, but genetics, growth, health, environment, and chance are not available as verified inputs. Treat the image as a creative approximation and get appropriate consent before uploading or sharing it.
What photo works best for an AI age filter?
Use a sharp, well-lit portrait with one visible face, a natural expression, and little obstruction. A simple background and a consistent crop make it easier to see which details the model changed. Follow the chosen tool's own upload requirements as well.
Why does the face change during age progression?
The model generates each frame from limited visual references. A large age gap, moving camera, changing background, or overly detailed prompt gives it more room to reinterpret facial features. Smaller steps, matched framing, and a shorter prompt can help, but they cannot guarantee identity preservation.
Should I share a generated age comparison publicly?
Only after checking permission, privacy, and context. Make it clear that the image is AI-generated, remove unnecessary identifying details, and avoid presenting it as a real before-and-after record. For children, consider whether public sharing could affect their future privacy.
Takeaway
An AI age filter is the better starting point for one edited portrait. AI age progression is the better fit when the relationship between ages is the point of the image sequence. Choose a clear input, make the smallest useful change, review identity drift, and describe the result honestly. If you want to try the effect, start with the GrowUpAI age progression workspace, then use the comparison above to decide whether a still filter or a multi-stage workflow fits your purpose.
Sources and further reading
- NIST Face Analysis Technology Evaluation: Age Estimation and Verification — background on technical age-estimation evaluations; it is not a specification for consumer image-generation tools.
- GrowUpAI privacy policy — how this site describes handling of submitted information.