AI Age Progression Video: 2 Workflows + Prompts
Make an AI age progression video from one photo or age-stage frames. Compare two workflows, copy prompts, fix face drift, and share results responsibly.
An AI age progression video turns a portrait, or a sequence of portraits, into a short visual transition between ages. For a quick experiment, start with one clear photo and a tool that supports image-to-video. If you already have photos from different years, use them as neighboring start and end frames when the tool allows it. Neither method predicts how a person will actually look.
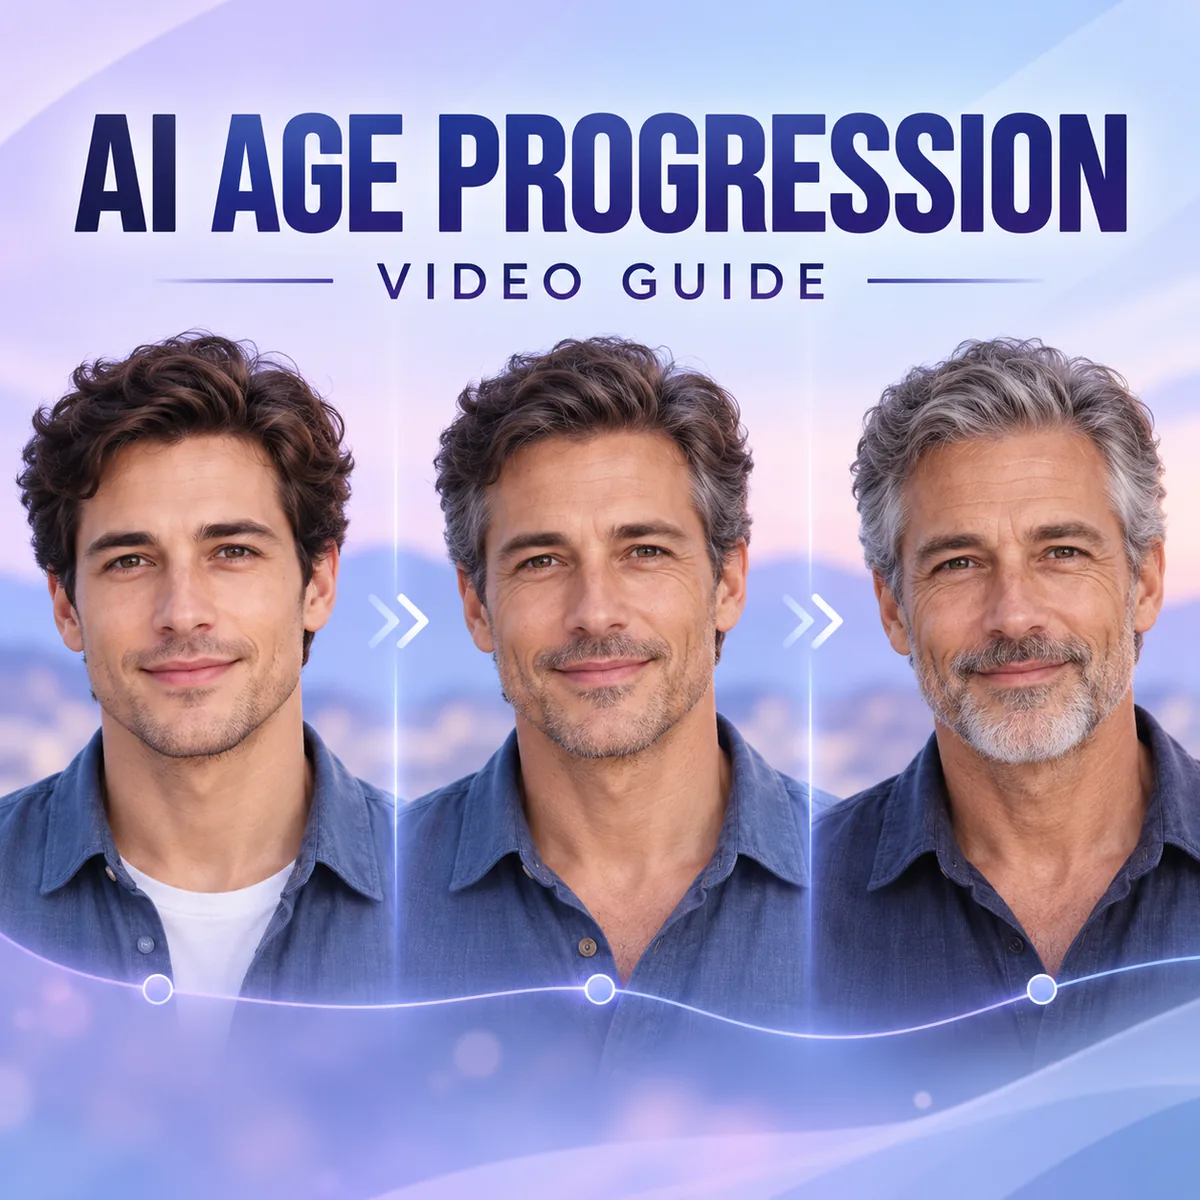
Concept illustration only. Generated age changes are creative interpretations, not forecasts.
The workflow that works best depends on the photos you have and the controls your video model exposes. This guide compares two approaches, gives you prompts to adapt, and shows how to review a clip without mistaking smooth motion for accurate identity.
What an AI age progression video can show
An age progression video is an edited visual sequence. A model may animate one portrait toward an older-looking version, or create transitions between supplied age-stage images. The output can suggest a timeline, but the model is inventing pixels and motion. It cannot reveal a person's real future appearance.
That distinction matters most when a clip shows a child becoming an adult. Treat it as a creative keepsake or visual experiment, label it clearly if you share it, and avoid presenting it as a prediction or record.
Choose a workflow: one photo or several
| What you have | Workflow | Main advantage | Common limitation |
|---|---|---|---|
| One clear portrait | Animate one image and describe a gradual age change | Fast to try; no matching photos needed | The model invents intermediate features and may change identity |
| Two age-stage portraits | Use the younger and older image as start/end frames | The result has a visible destination to follow | Some tools do not offer frame controls or may blend unevenly |
| Several photos from different years | Make short clips between neighboring ages, then join them | Each transition covers a smaller age jump | More editing and review; framing and lighting may differ |
If the tool accepts only one image, use the first workflow. Do not try to force a multi-image process into an interface that has no reference-frame controls. If you have several photos, sort them by year and make adjacent transitions rather than asking one clip to jump across decades.
The GrowUpAI example below is a generated sample, included to show the style of a finished age transformation. It is not evidence of what the person will look like later.
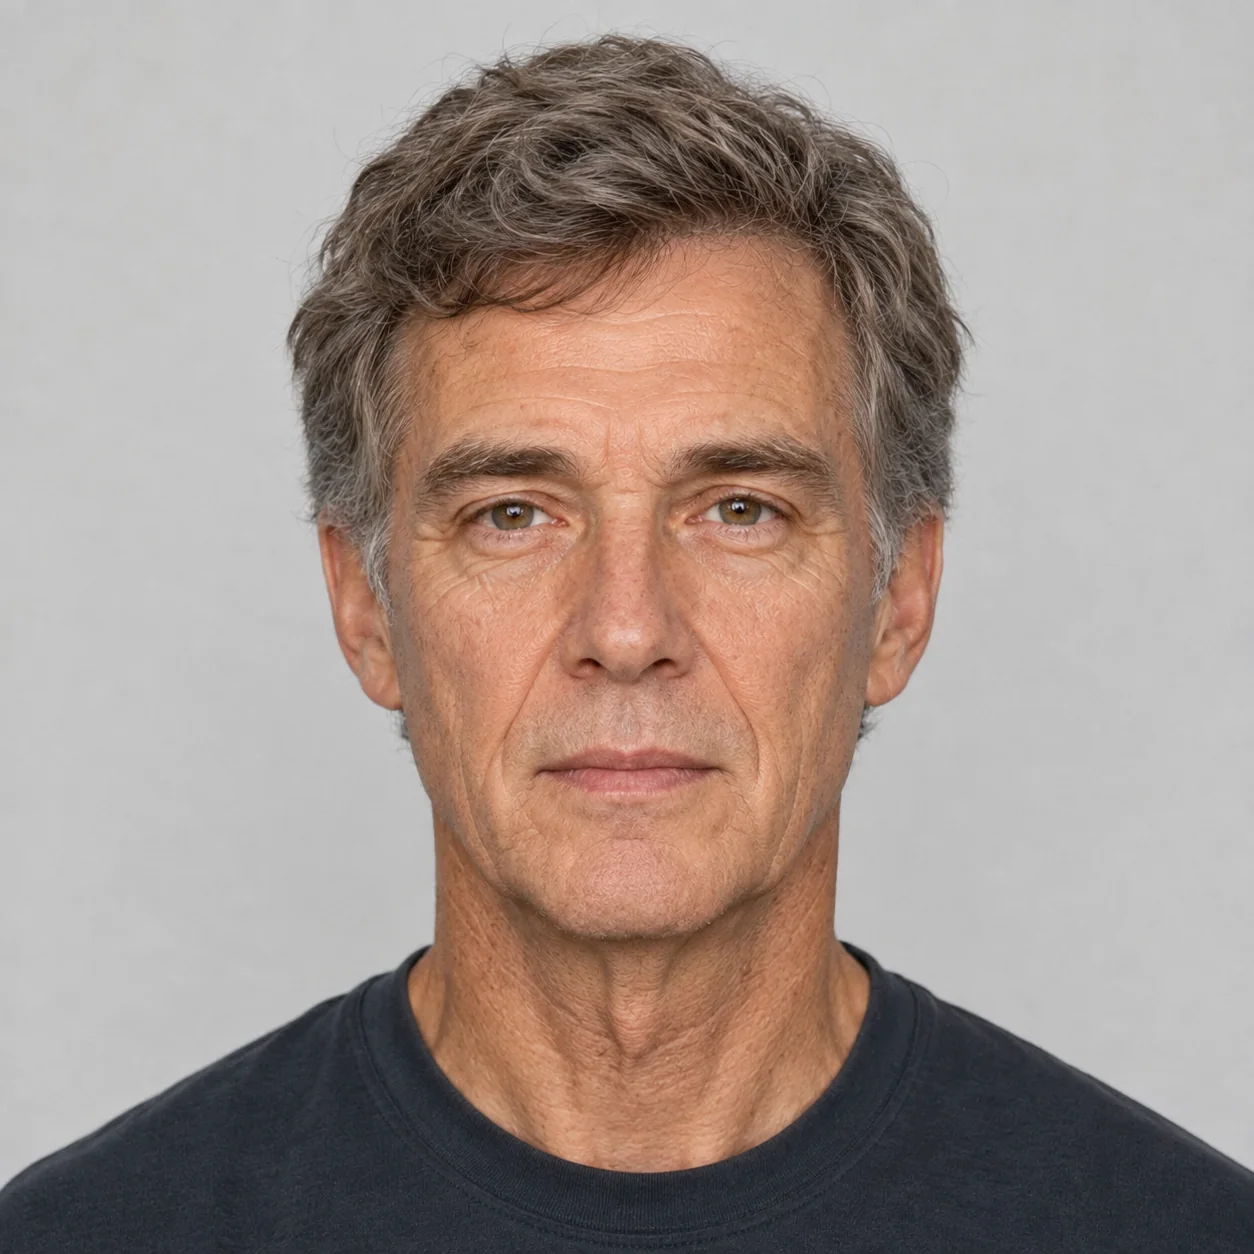
A generated sample helps explain the visual effect; it does not establish a real future likeness.
Example age progression clip from GrowUpAI. The stages are AI-generated visualizations.
Prepare a photo before generating
The source frame gives the model its strongest identity cues. Choose one person, a sharp face, even light, and a mostly front-facing angle. A simple background makes it easier to notice whether the face or camera framing changes. Remove heavy filters and avoid images where hair, glasses, hands, or shadows hide the eyes and jawline.
For a sequence, make the portraits as similar as practical: comparable crop, face size, head angle, and lighting. You do not need identical clothing, but a large change in clothing, background, and age at once gives the model several things to reinterpret. Keep the changes you care about and simplify the rest.
Before uploading, make sure you have permission to use every photo. For family or child portraits, consider whether the service stores or processes uploads, remove unnecessary identifying details, and share the finished clip only with an appropriate audience.
Two copy-ready age progression video prompts
Prompt syntax differs across tools. Keep the identity instructions short, then describe the age change, movement, camera, and background. If the service has separate fields for start/end frames, use those controls instead of pretending that text alone can lock a face.
One-photo workflow
Use this when the model animates a single uploaded portrait:
Create a short, respectful age progression video from the supplied portrait.
Keep the same recognizable person, face shape, eye spacing, and gentle expression.
Show a gradual change from [starting age] to [target age] in one continuous,
front-facing portrait. Keep the camera still, the lighting soft, and the
background unchanged. Use natural age cues; avoid exaggerated wrinkles,
beauty retouching, sudden cuts, extra people, text, and watermarks.
Replace the bracketed ages with a range the model can represent. If a long age jump looks unstable, try a smaller interval or make separate clips. Do not add a detailed wardrobe or cinematic scene unless that detail is important to the result.
Start-and-end-frame workflow
Use this only when the video tool explicitly supports two reference frames:
Create a smooth transition from the supplied start frame to the supplied end
frame. Preserve the subject's recognizable facial features and keep the
portrait framing and background consistent. Let age-related changes happen
gradually between the two frames. Use a slow, subtle camera push-in, no cuts,
no face swapping, no extra people, and no added text.
For a sequence of older photos, make a clip from frame one to frame two, then frame two to frame three. Review each clip before joining them. A prompt cannot guarantee that every model will preserve a face, so keep the outputs that look coherent and discard the ones that drift.
Fix face drift, flicker, and awkward transitions
Watch the clip once for the overall story, then again for details. Compare the eyes, face width, hairline, and head angle at the start, middle, and end. Check whether the person changes between frames, whether the background flickers, and whether the age change looks like a gradual edit rather than a sudden morph.
| Problem | First adjustment to try |
|---|---|
| The face becomes a different person | Use a clearer reference and shorten the prompt; keep only a few identity cues |
| The age changes too abruptly | Reduce the age range or split it into smaller clips |
| The head or camera jumps | Ask for a fixed, front-facing camera and keep the crop consistent |
| Hair or clothing flickers | Keep the background and styling simple; avoid describing many changes at once |
| The older frame looks exaggerated | Ask for subtle, age-appropriate changes and remove dramatic style words |
| A multi-photo transition looks like a dissolve | Match portrait size and angle, or use a tool with explicit start/end-frame controls |
Change one thing per retry. If you change the photo, the prompt, and the model at the same time, you will not know what improved the result. Save the input and prompt that produced an acceptable clip so you can repeat the workflow.
Review and share the result responsibly
Check the whole clip before downloading or posting it. A smooth transition can still invent facial details, misrepresent a person, or create a misleading before-and-after. Keep the source photo and generated video together if you need to explain that the clip is synthetic. Do not use an AI age progression video as identity evidence, a medical conclusion, or a factual statement about a child's future.
If you want to try the image and short-video workflow, open the GrowUpAI age progression workspace. For a still image focused specifically on a child's grown-up appearance, see the child-to-adult photo tool; the result is still an imaginative edit.
Frequently asked questions
Can AI show what my child will really look like as an adult?
No. An age progression video is generated from visual patterns and instructions, not from knowledge of a child's future. Use it only as an imaginative visual and do not describe it as a reliable forecast.
Can I make an age progression video from one photo?
Yes, if your video tool supports image-to-video. A clear portrait is a reasonable starting point, but a single image leaves the model to invent the in-between ages. A service with start/end-frame controls may let you guide the transition more directly.
Why does the face change during an AI aging video?
Video models generate frames and motion from limited visual references. When the age range, camera movement, or scene changes are large, the model may reinterpret facial details. A simpler prompt, steadier framing, and smaller age steps can help, but cannot guarantee identity.
Should I use one prompt or several age-stage photos?
Use one prompt and one photo for a quick, simple experiment. Use several photos when you want the sequence to follow real milestones, then create short transitions between neighboring ages. The second workflow takes more review and editing.
Is a generated age progression video a real memory or photograph?
No. It is a synthetic edit. Keep that clear in captions and conversations, especially when the clip includes a child or someone who has not agreed to having their image shared.
What is the difference between an age filter and an age progression video?
An age filter usually produces a still image with an older- or younger-looking face. An age progression video adds motion or transitions between ages. The underlying limitations are similar: neither one can verify or predict someone's real appearance.
A practical takeaway
Start with the simplest workflow your tool supports. Use one clear portrait for a quick transformation or adjacent age-stage frames for more control. Keep identity cues and camera framing steady, review the full clip, and label the result as an AI visualization. When you are ready to create one, try the GrowUpAI age progression and growth-video tools.